Ok, so for whatever reason today I decided to save some seeds of the “poor man’s orchid”, Schizanthus pinnatus. Dunno why really, since I suck at actually growing things out from seed, but I like this plant and its not always easy to find. So, since I had at least one plant the hummingbirds graced with a few visits, I thought I would try saving some seeds of it.
I know lots of people have different ways to save seed, and many people buy little velum or plastic envelopes to put their seeds in, but years ago a friend of mine shared this origami fold that adapts itself really well to saving seeds. From a single piece of scratch paper, you can make two to four good sized envelopes that are easy to open, and more importantly REopen, and keep most seeds nicely secured in breathable paper. Experts say plastic doesn’t breath enough and can smother the seeds… Then turn around and tell you to put the seed packets in sealable glass jars, lol. You decide how you want to store them, but maybe this little fold will make it easier to collect seeds on the fly when you aren’t necessarily planning on it.
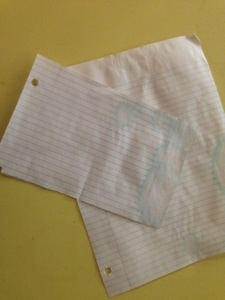
Anyway, this is a cheap and effective way to make a simple seed packet that works great for all but the largest seeds. All you need is a piece of paper;
This is regular 8×12 lined school paper, but any kind of paper will work, of any size. I usually prefer to rip the paper in half or quarters, depending on how many or how small the seeds are. Blank paper, or at least something with room to write on it works best, as you can scribble down the name of the seeds, and the date of when you collected and any other pertinent info directly on the seed pack before adding the seeds. Or use a sticker I suppose.
Ok, so start with a piece of paper roughly 4×6 inches, or half a sheet of standard lined paper. I like to fold it in half where I want to rip it, run my thumbnail over it to crease it hard, then open it up and flip it backwards and crease it again from the other side. Now you can open it up and gently rip along the creased fold, and it will usually rip fairly straight and cleanly along that line.
Or just mark it and use scissors, whatever works for you.
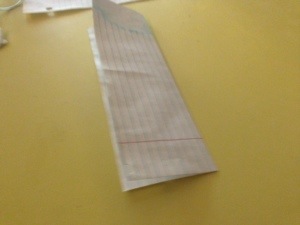
Now, long ways, fold it again bottom edge to top-
Crease hard. Now match the two top and bottom edges again, and make a small fold to hold these edges together, about 1/8 to 3/16ths of and inch deep-
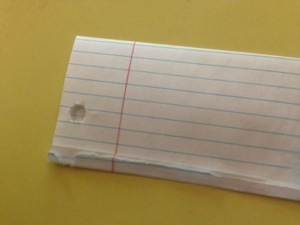
Do this again, doubling this fold over for a nice tight seal (we don’t want it to come apart with the seeds in the finished envelope, so doubling the fold makes it stronger.)
It’s hard to see in the above photo, but if you look closely you can see how it’s been folded once then doubled over and folded again.
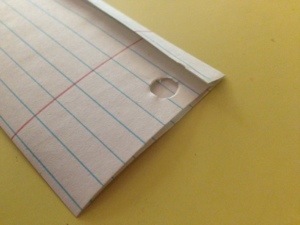
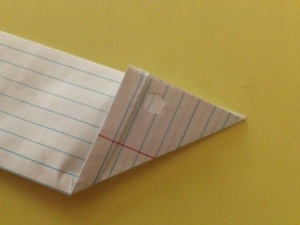
Now flip the fold over, and fold a triangle on one end, with this double folded edge going up to meet the center fold like so-
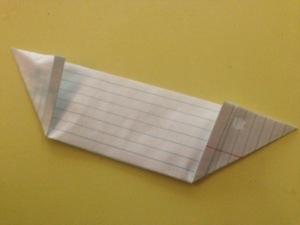
Now do that again on the other side-
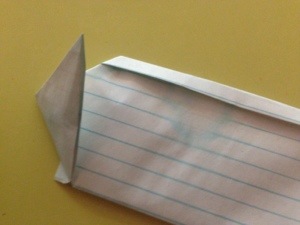
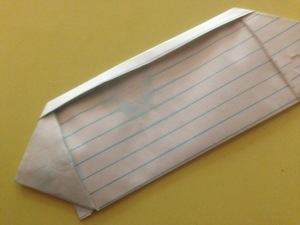
Flip it over again, and fold the corners down, tucking the end into the double folded bottom edge-
That’s it! You have made the packet. I recommend if your going to use these for seeds, write at least the name of the seeds, and the date you collected them on the outside of the packet. If your collecting from a natural area or park, you can include that provenance information too, or any other notes you want or need to remember the seed location by, or tips on how to grow them, or whatever. I also like to put who I got seeds from if I get them from another gardener or friend. Really, whatever info you need that can fit on the paper. You can even open the paper up, write detailed notes on it, then refold and add the seeds. It’s pretty flexible.
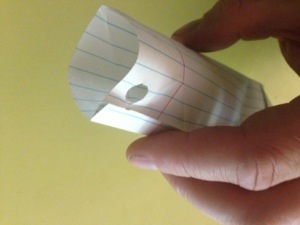
Oh, to open, pop the tab on one of the sides, open it back up to square, and gently blow open the end-
Be careful when you open these not to pull too hard on the double folded bottom edge, and when you close it, remember to tuck the corner back in under this fold to lock everything closed.
Of course it can be used for all kinds of things, not just seeds, but this is an easy fold to master and can be done anywhere if you just have a piece of paper.
One final look at the finished product here-
The smaller of the two is made from a quarter sheet, the larger from a half sheet. If you have a large number of seeds, and bigger ones, you can use a full sheet of paper, but I’ve found they don’t hold together as easily. Your mileage may vary.
Hope this is clear enough to figure out! Have fun collecting seeds *grin*.
